
- Open the box and turn it on! :)
- Select your country from the first screen
- Select your wireless network and enter the key (The school wireless will be pulled down during the setup process so best to do this at home)
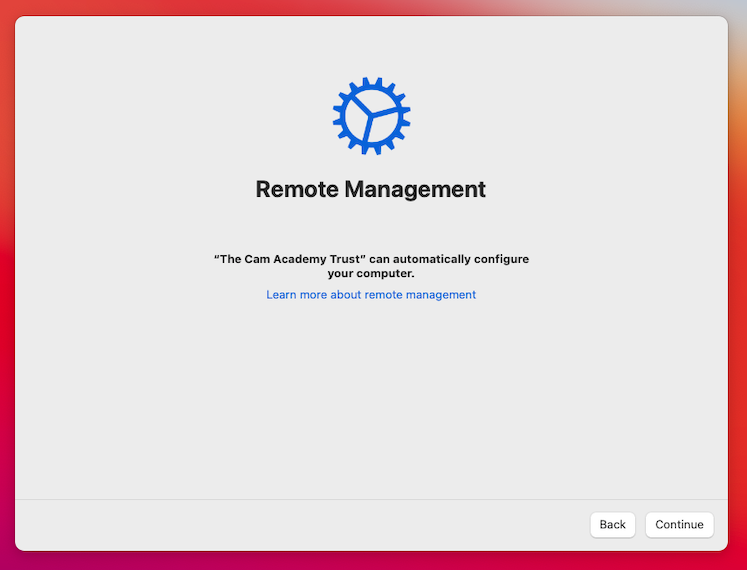
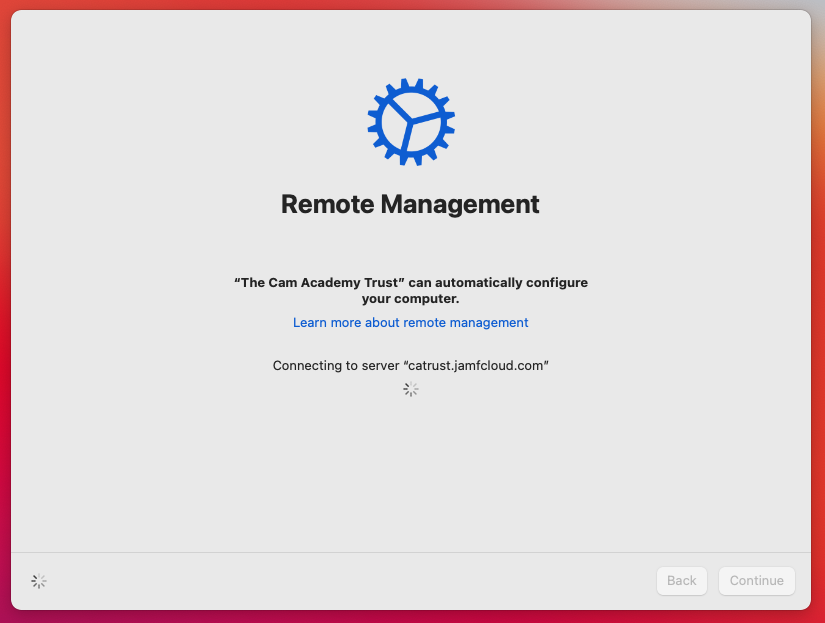
- You'll get the below message about the school being able to manage your device, this is for Asset Information and Insurance Activation, click continue
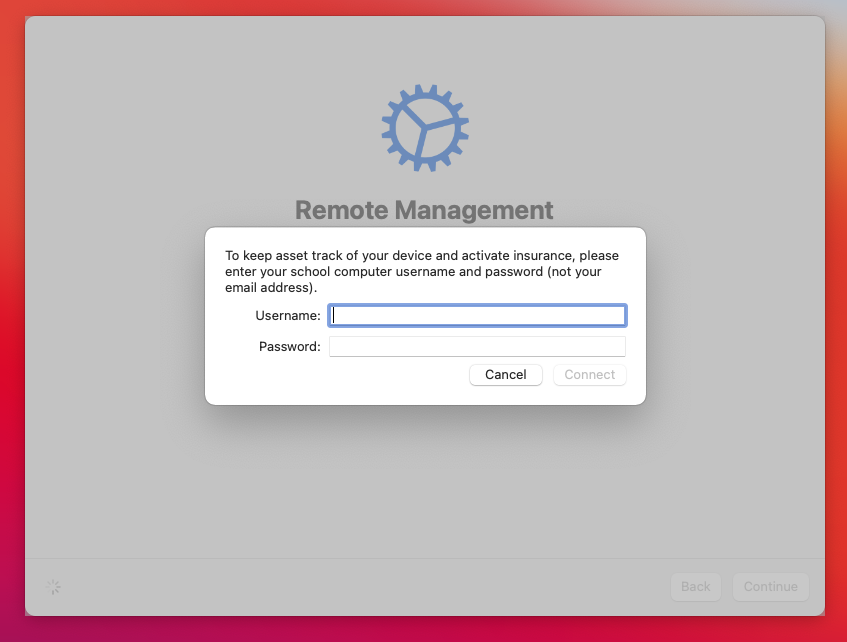
- You'll now be prompted for your SCHOOL username and password, so the same username (not email address) and password you use to log into the school computers
- Press Connect
- It'll skip through some setup and activation steps
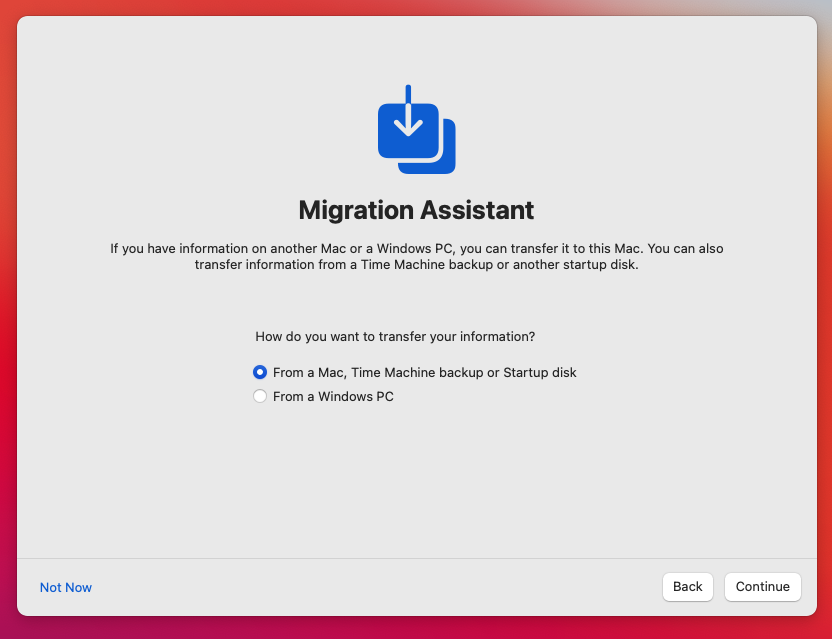
- It is possible to copy/restore data from an existing Mac or take some settings from an existing PC on. this next screen, we'd recommend setting up from scratch but select as you prefer, select NOT NOW in the bottom left if you want to just continue a fresh, the rest of the steps here will assume that is what you have done
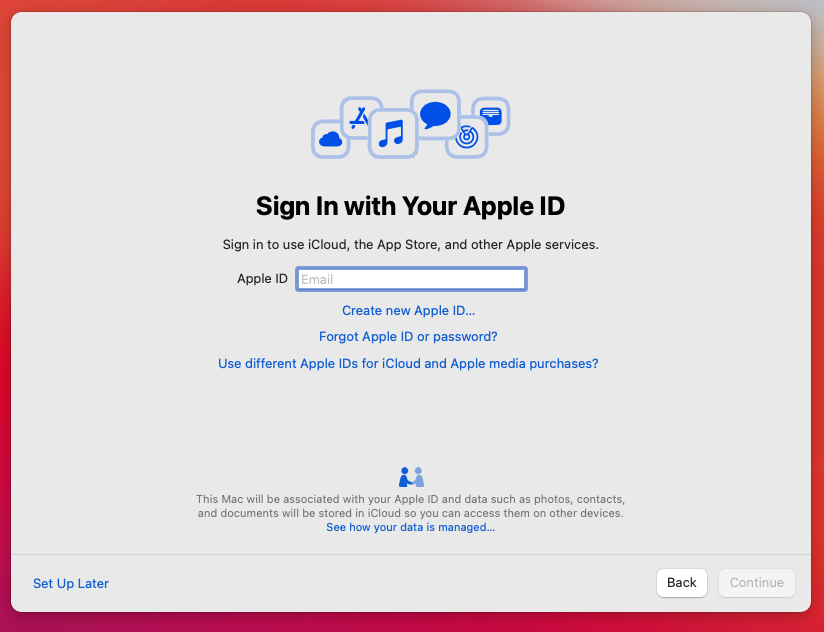
- You'll be prompted for an Apple ID, please follow this information CAREFULLY! You can use your own Apple ID here, you are free to do that, you can also use your school Office 365 credentials, using the school Office 365 credentials will provide you with 200GB free iCloud storage. Some things to note though.
- Once you get past this stage and at the Mac Desktop you will want to install apps from the Mac App Store, do not use your school Apple ID (Office 365 credentials) for this as you will not be able to install any apps using that Apple ID, please create or use your own
- Using your School Apple ID has some other restrictions that Apple put in place, such as not able to use Find My
- If you use the school Apple ID, when you change your Office 365/School computer password your Apple ID Password will obviously also change.
- From this point onwards it's all standard stuff, take your pick
If you are on a lease to purchase agreement all of these configuration settings will be removed and the device handed over to you after the final payment.
Comments
0 comments
Please sign in to leave a comment.